Blast Authoring Tool Quick Start
Blast Authoring Tool is a standalone destruction authoring tool for NVIDIA GameWorks destruction library. This tool is to replace APEX destruction PhysX Lab as faster, more flexible and feature rich solution for making destructible game objects.
This is an authoring guide. For the original Blast library documentation and sources visit https://github.com/NVIDIAGameWorks/Blast.
Features
- Rich in-editor asset authoring
- Chunk Tree Hierarchy
- Voronoi Fracturing
- Clustered Fracturing
- Radial Fracturing
- Slice Fracturing
- Impact Damage
- Stress-based damage
- Dynamic Damage Simulation
- Both static and dynamic actors
Download
Download the current version of the Blast Authoring tool here NEED PUBLIC LINK
Before You Start
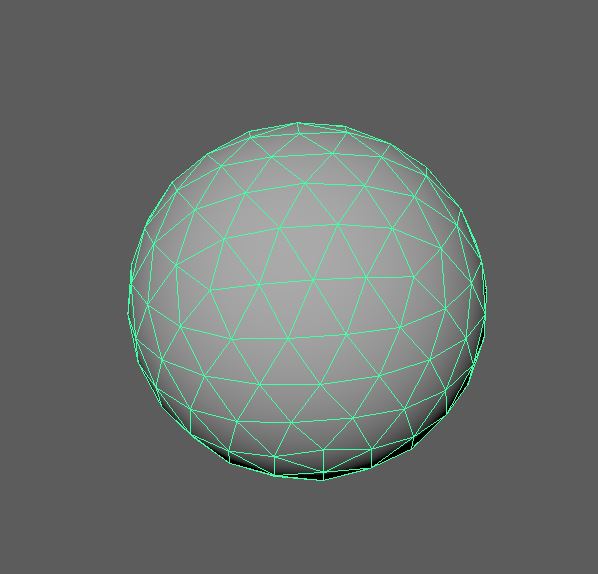
You’ll need to create an airtight mesh you want to destroy in third party software with UVs before importing it into the Blast Authoring tool. In this case we’ll use a simple shape that we want to destroy. Let’s use a geo sphere and export is as an .fbx file.
Quick Start
- Open the Blast Authoring tool
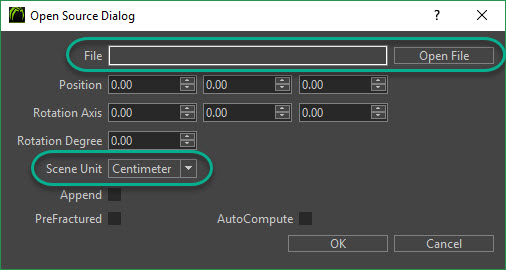
- Import your mesh: Go to File/Open fbx file. Make sure you set the units to whatever your base units were set at in your model making program. You can also import a pre-fractured mesh (link)
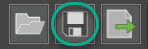
- Save your project. If you hit save it will save in the same place as your mesh. If you want to save your project in a differnt folder hit save as and you can save in a folder of your choice. Every time you hit save its location will appear in the Output Window.

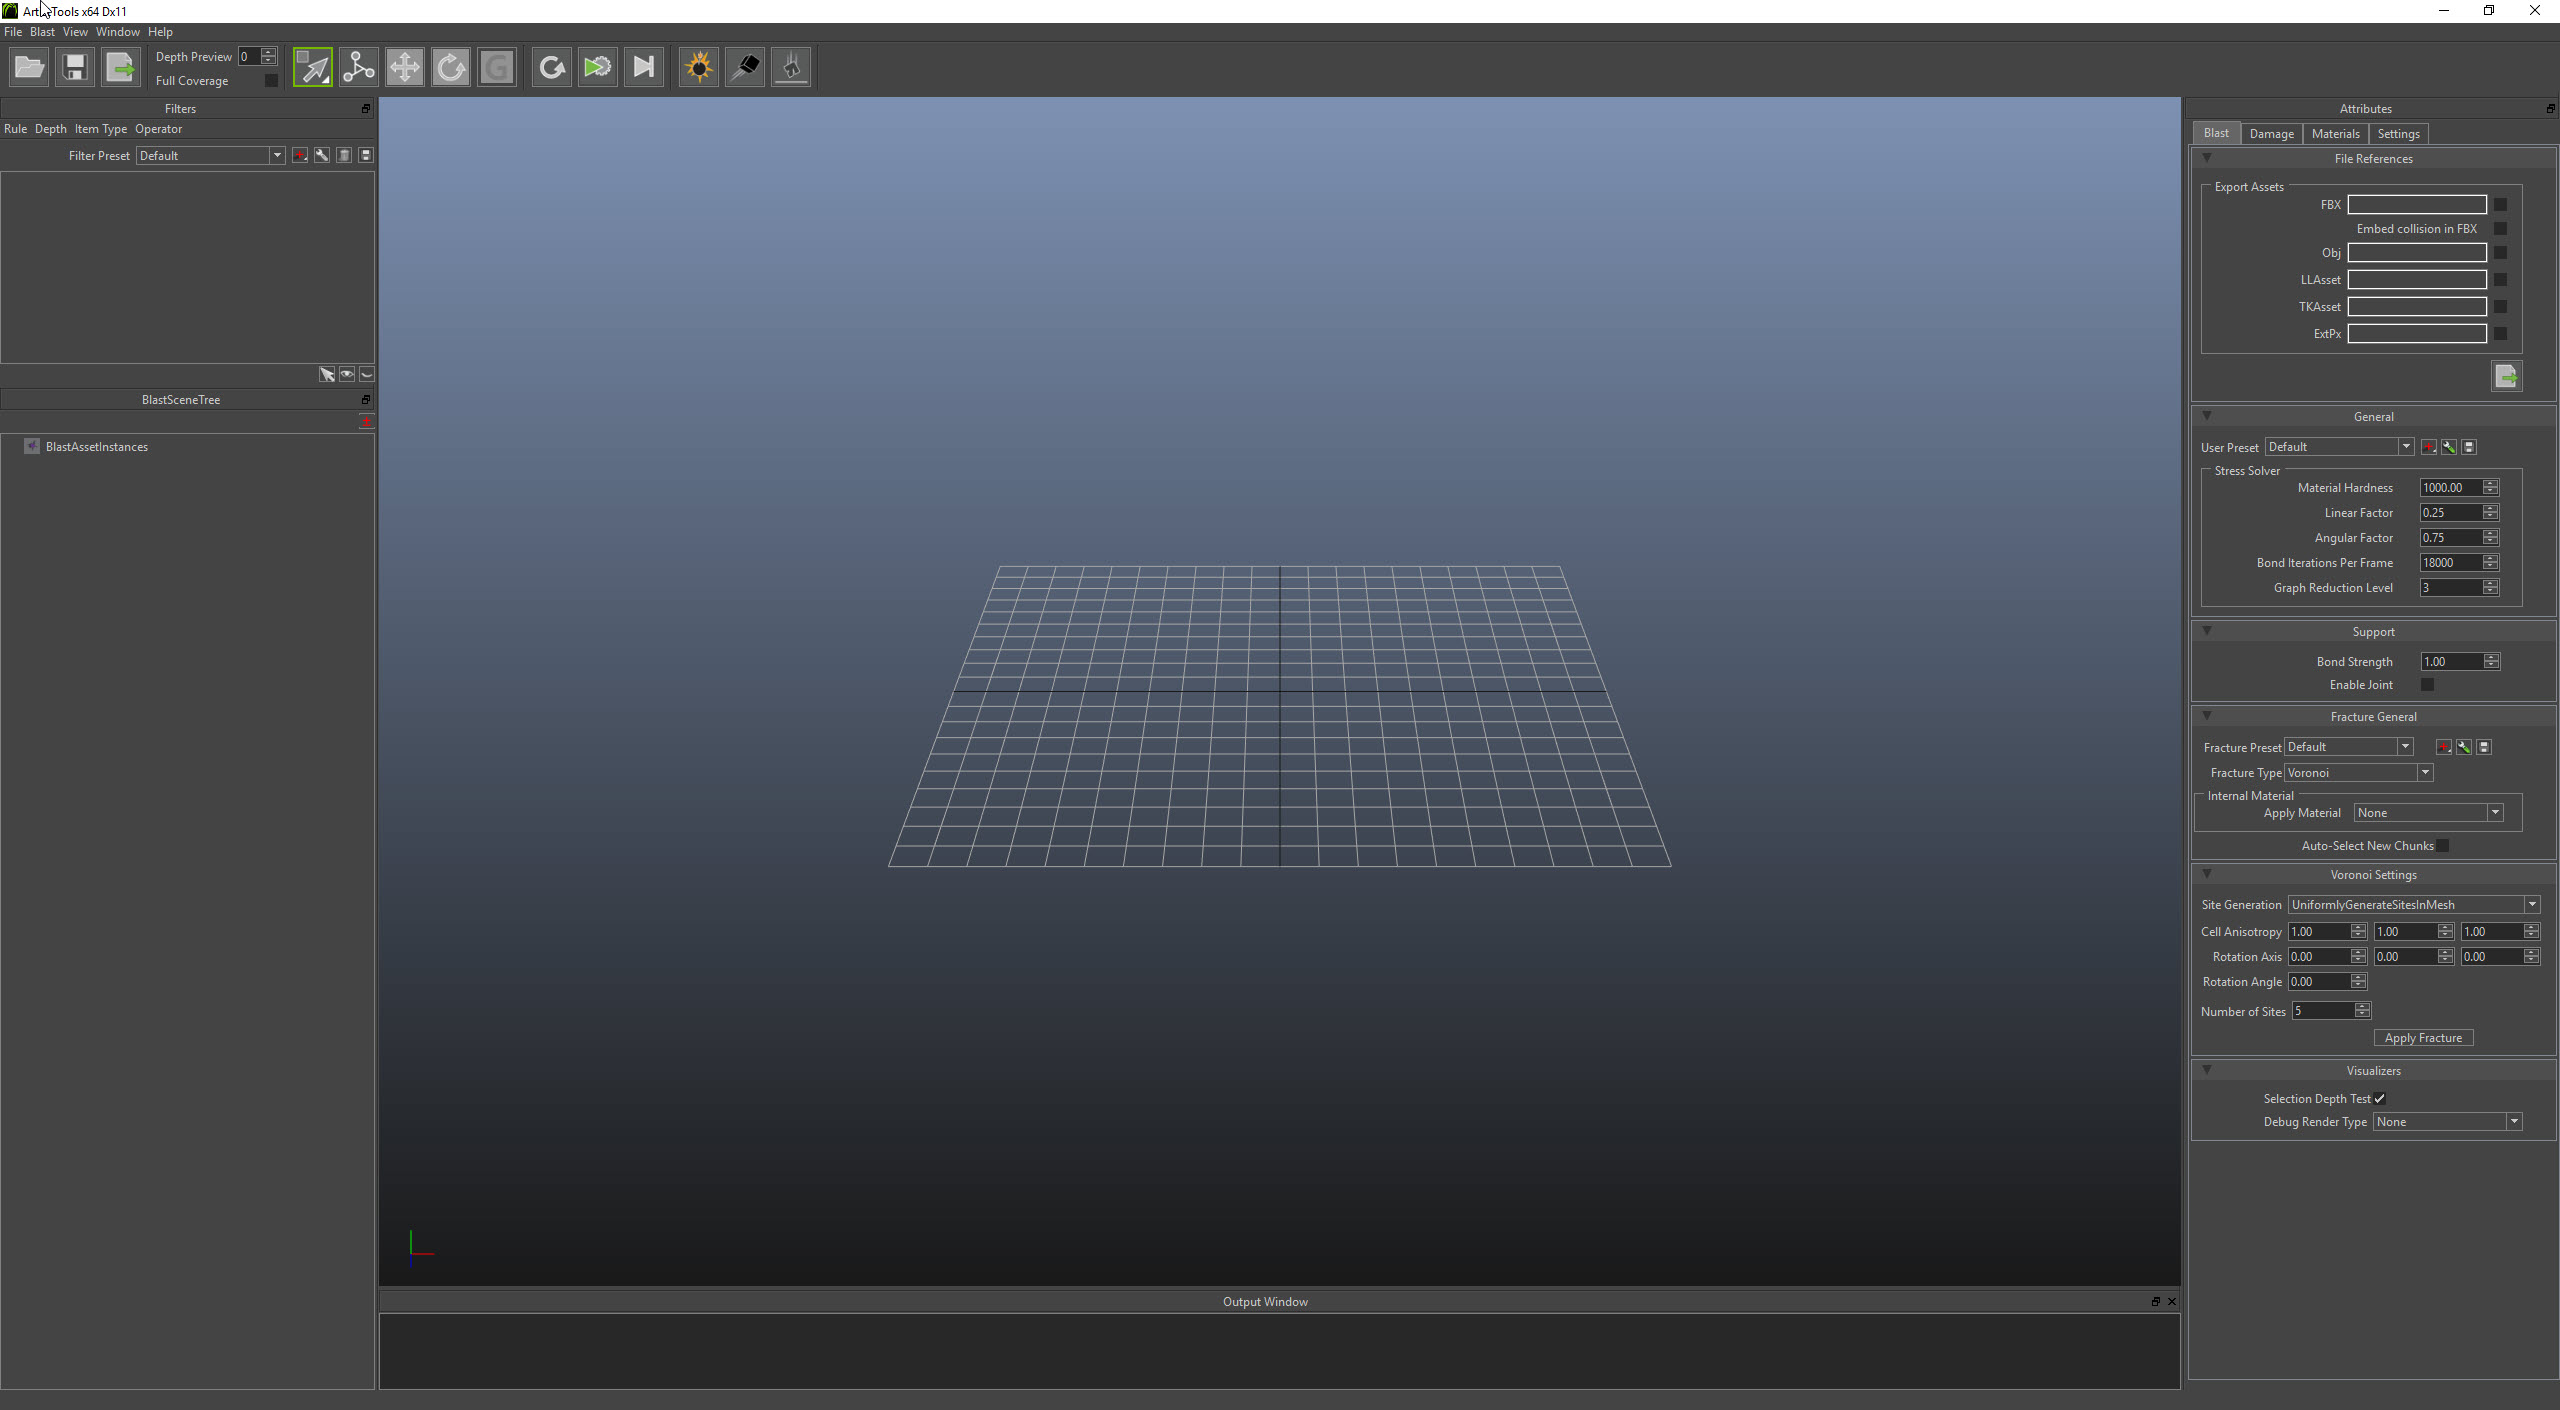
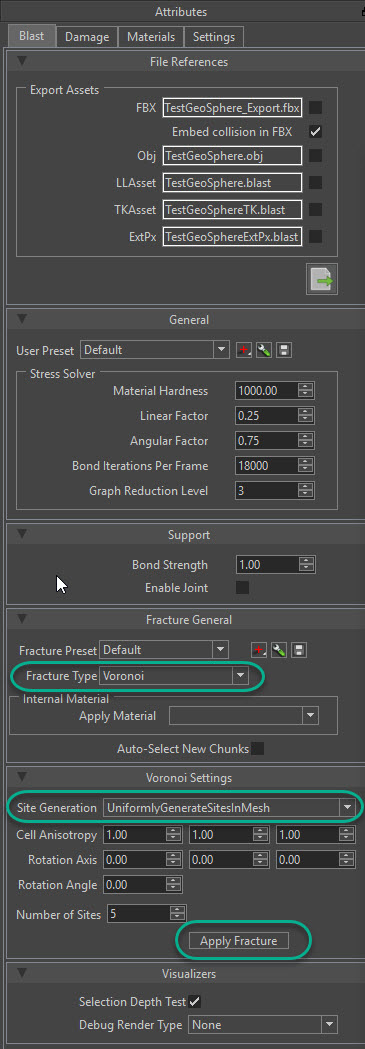
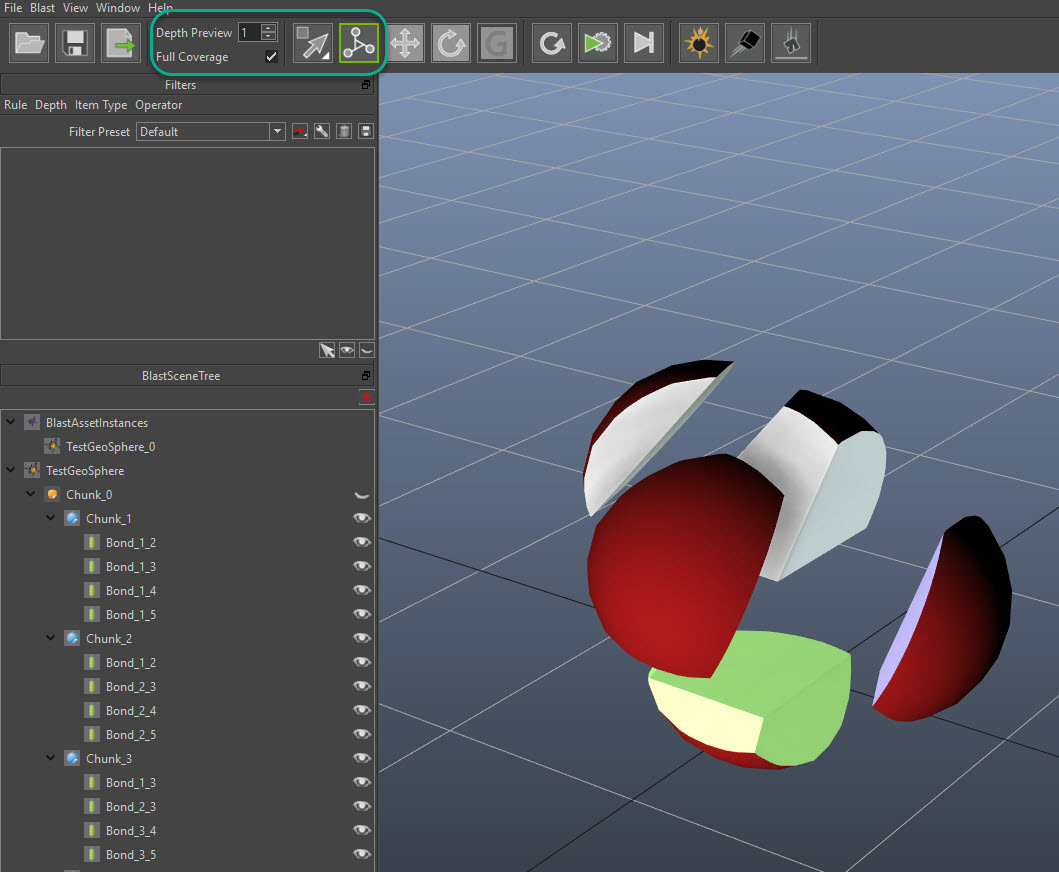
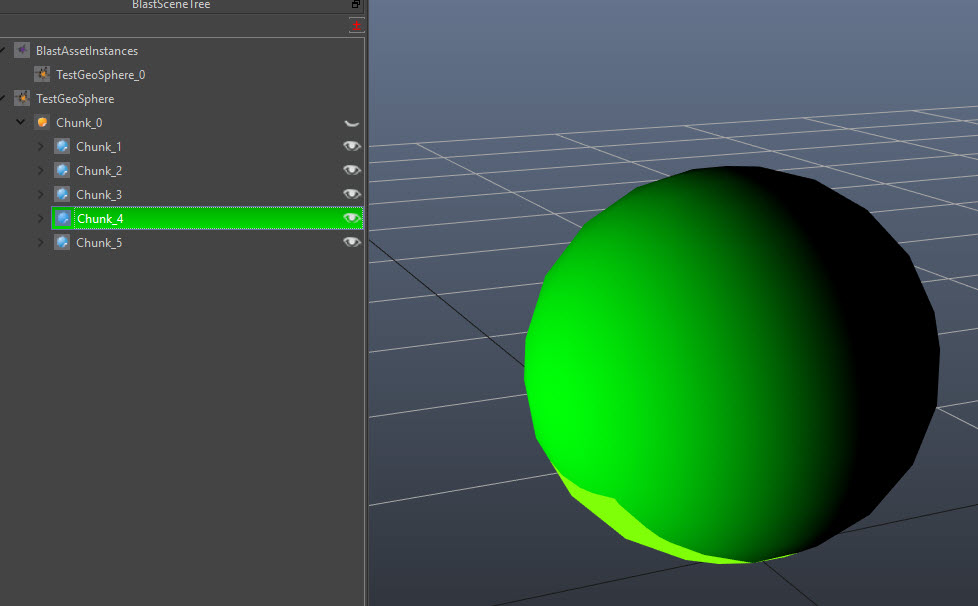
- Select the Mesh be selecting the selection button then clicking on the mesh or selecting the Mesh in the Blast Scene Tree. In the blast tab, with Voronoi and UniformlyGeneratedSitesInMesh set hit the Apply Fracture button. Five chunks have populated the Blast Scene Tree
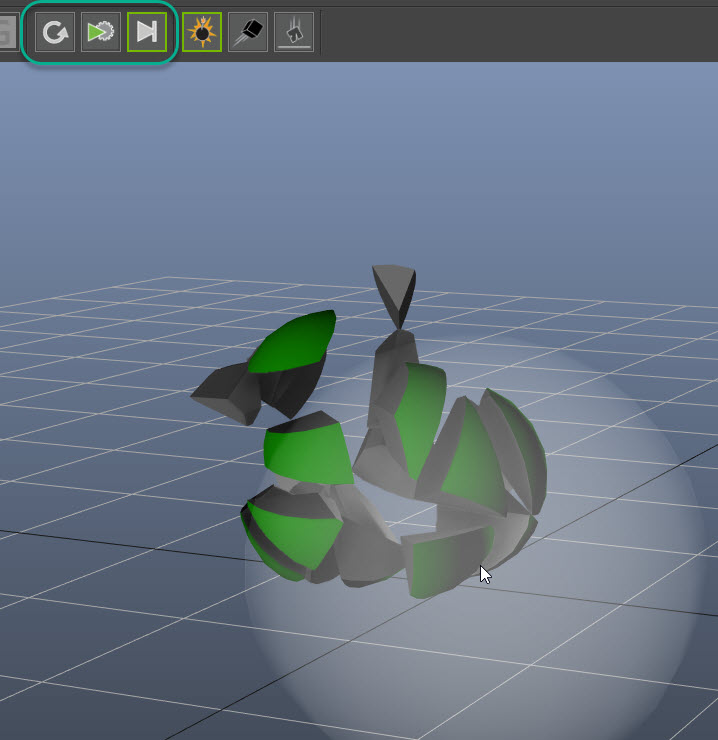
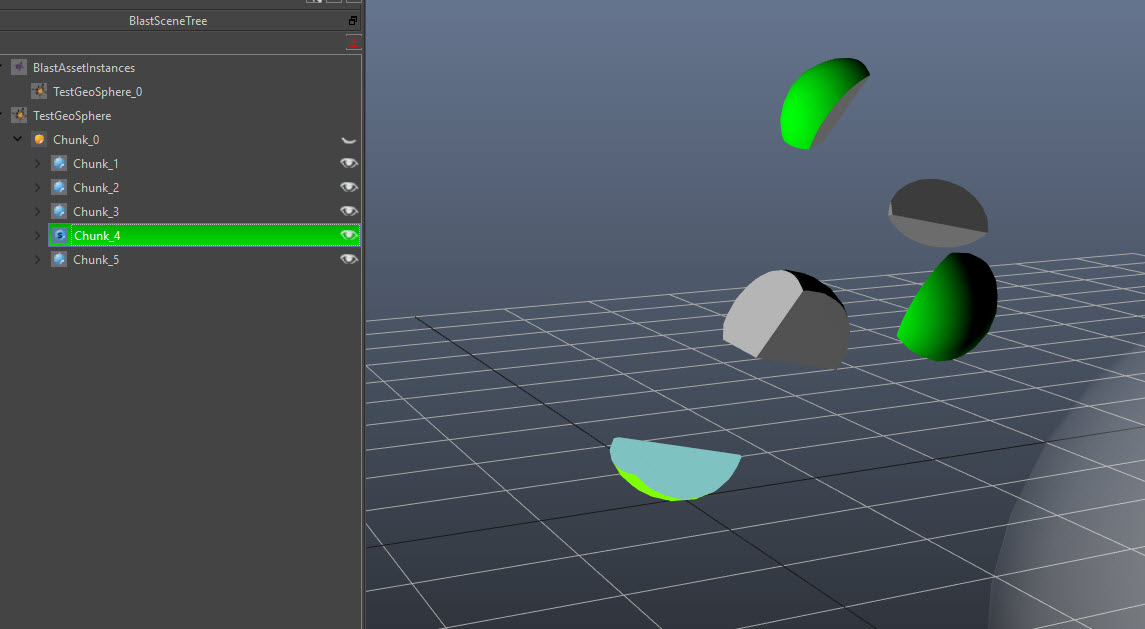
- To view your fracture, Set Depth Preview to 1 then click on the Explode View button. Click on your mesh and drag in the Viewport to view your fracture and adjust the camera position to view each chunk. To freeze your explode amount click the Select button
- Next we’re going to make another depth of destruction to the sphere. Select the Chunks in the Blast Scene tree by control clicking the chunks or control selecting them in the Viewport.
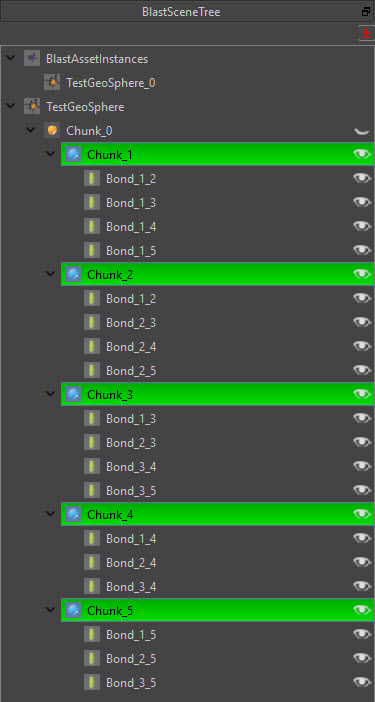
- With the same settings as before click Apply Fracture Five chunks will appear as children per chunk in the Blast Scene Tree
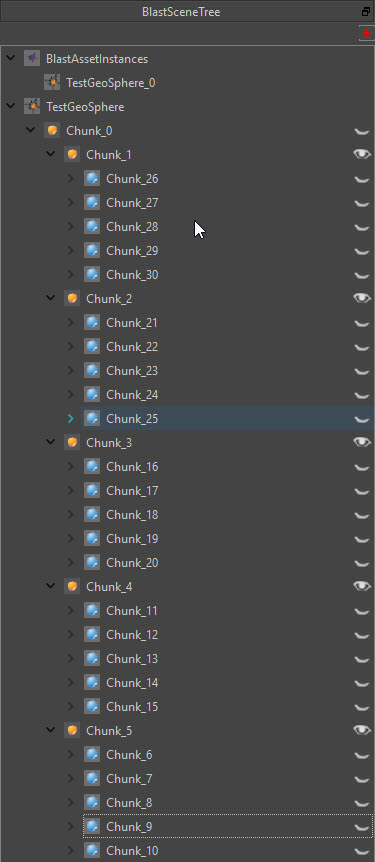
- To view Depth 2. Set Depth preview to 2 and adjust your fracture as you want with the Explode View button.

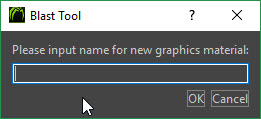
- Set Materials in the Materials Tab. With the mesh selected go to the Materials tab and Add a material with the + button.
- Add an Outside and an Inside material and select a color for each. If you’re Importing into UE4 you’ll need to have the Outside and Inside set for the Material IDs.

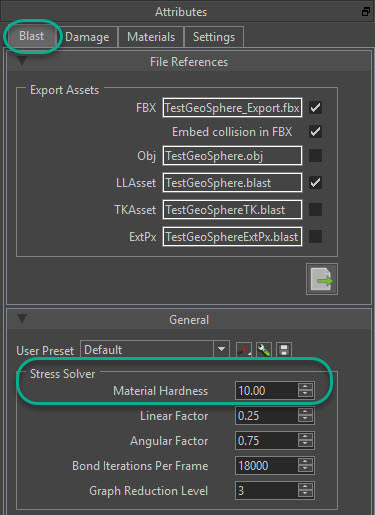
- Before viewing your Blast Mesh in action you need to make the Blast Mesh more fragile. Select the GeoSphere in the Blast Scen Tree then go to the Blast Tab and change the Material Hardness to a low number like 10.
- There are a number of ways you can check the simulation of the Blast Mesh with the Damage Buttons. You can damage it directly with the Explode Button. Throw objects at it with the Throw CCube Button or drop it using the drop Object Button. Click on the Explosion button. If you move your cursor into the View Panel there will be a volume that represents the size of the damage area. You can change the Radius, Damage amount and other settings in the Damage Tab.

- With the Damage set up and Explosion Button selected you can now test your mesh. Click the Simulate button to see the destruction in real time and click on the mesh. After it breaks you can reset the scene with the Reset Button. If you want to check the destruction frame by frame, use the Frame Step* button. To use the frame Step button reset the scene and click on the Frame Step Button and click on the mesh. Every click on the Frame Step Button will advance one frame. To re-edit your BlastMesh Click the Reset Button.
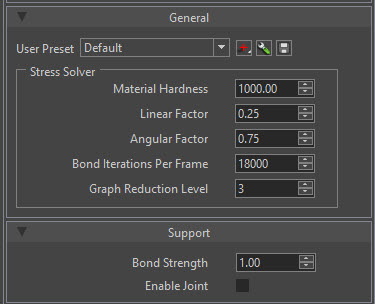
- Adjust the Stress Solver settings in the Blast Tab until you get the result you’re looking for
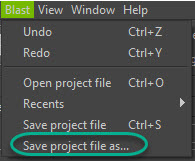
- Save project before exporting. If you hit the Save Button a .blastProj will save in the same directory as the imported mesh. If you want your project in another directory, use Blast/Save Project File As.
- Export. Export ,fbx or obj mesh depending on your needs. For example: Unreal Engine 4 will need the .fbx with the collision embedded and the LLAsset .blast file for Import. To export, click on the assets you want to export in the Export Assets field in teh BlastTab. You can change the names of your exported assets here to whatever you want. The assets will save to the same directory as the Imported .fbx file. After selecting your exported assets. Click the Export Button. If you have any Export assets clicked they will also export every time you save your project.

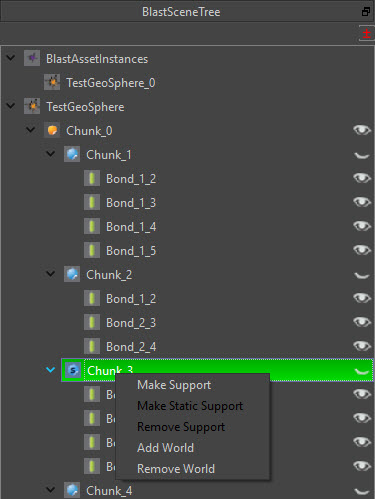
Making Blast Actor Use Static Support
By default any Blast Actor is dynamic. To make part of it static do the following.
- Using the Quick Start example above. Select a chunk from the Blast Scene Tree. Select Chunk 4.
- Right click on Chunk 4 and select Make Static Support.
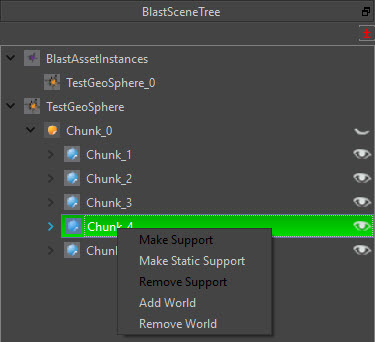
- The icon will change to have an ‘S’ on its surface. It is now markes as static

- Check this by using the Explosion Button, Simulate. Chunk 4 will remain fixed.
- To remove Static Support, Right click on Chunk 4 again and select Make Support. This will remove the Static Support.
Importing a Pre-Fractured Mesh
Importing a Pre-Fractured mesh you have created in third party software is the same as a regular .fbx import but with a one difference. On import you’ll need to still set the Scene Units and select the file but also check the Prefracturd toggle to True, otherwise your file will come in with one chunk.
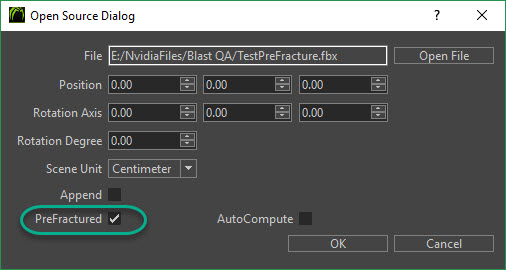
You will be able to add chunk depth to a your pieces in the Pre-Fractured Mesh.