Material Tab
The Blast Materials Tab allows you to set material IDs to your blast object. You can add vertex colors to the Blast Mesh or load textures to the Diffuse, Specular and Normal settings. In a simple object Material ID 1 is the outside of the Blast Mesh and Material ID 2 represents the inside faces of the Blast Mesh fractures. If you’re exporting to UE4 the Material ID would populate as Element 0 and 1 in the material settings.
Material Library
Add and set materals Diffuse, Specular and Normal Map to your Blast Mesh.
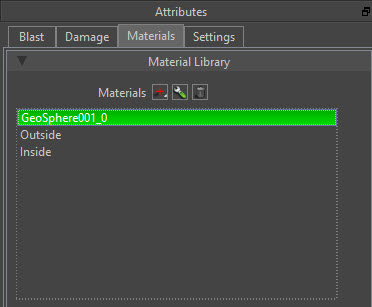
Material Controls
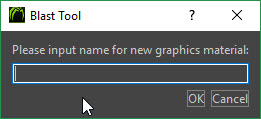
 Add Material - Add a new Material which starts by launching a select name dialog.
 Edit Selected Material - Edit the name of the selected Material.
 Delete Selected Material - Delete the selected Playlist.
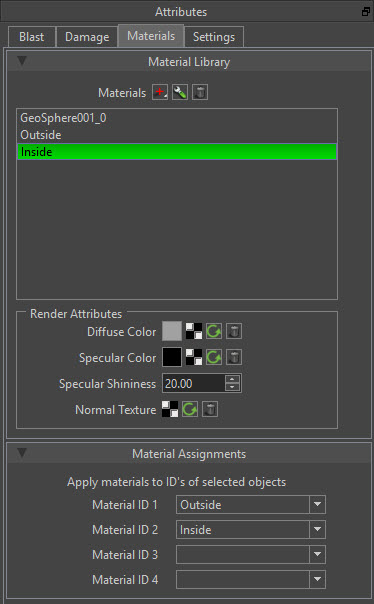
Render Attributes

- Diffuse Color - Set a vertex color or set a texture that serves as a base color of the Blast Mesh.
- Specular Color - Set a vertex color or set a texture that serves as the shininess for the Blast Mesh.
- Specular Shininess - Value sets the amount of shininess of the specular color or texture.
- Normal Texture - Set a texture to serve as a normal map for the material for the Blast Mesh.
Texture Input Buttons
 Open File Texture Opens a file dialogue to load a file texture
 Reopen File Texture Texture is currently loaded. Hover over the icon to get a tool tip with the loaded file path. Clicking the button opens a file dialog to load a different file texture.
 Reload File Texture Reload a file texture if one is already loaded.
Remove File Texture Remove a file texture.
Material Assignments
After setting Materials, you can set materials here. Material ID 1 is the outside shell of the mesh, and Material ID 2 is the inside of the mesh. It can be set here or in the Blast Tab.
The Added materials will appear in the ID dropdowns.
Using the Material Library
After Fracturing your mesh you can set the materials. I’m using the names Outside and Inside for this example but you can use whatever naming convention that you’d like.
- With the mesh selected go to the Materials Tab and Add a material with the + button.
- Add an Outside and an Inside material and select a color or add a texture for the Diffuse for each material.
- Set the Material IDs. Material ID 1 is the outside faces of the Blast Mesh. Material ID 2 is the Inside (fractured) faces of the Blast Mesh.
